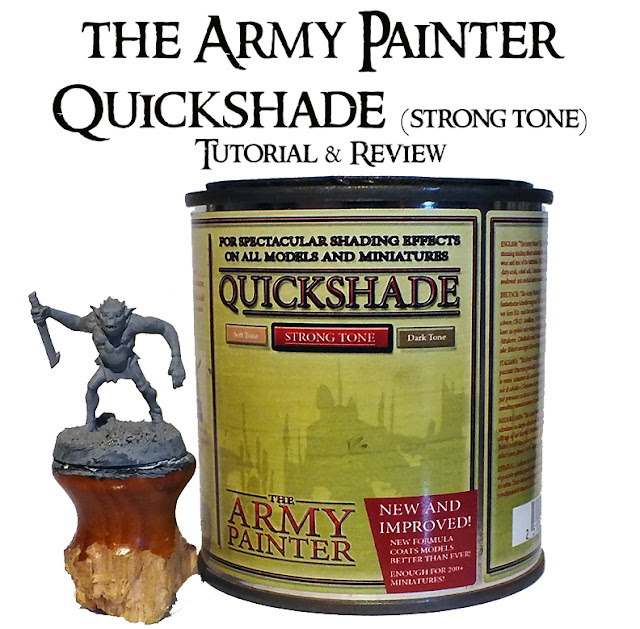
113th post - The Army Painter Quickshade! (Tutorial and Review)
Mae Govannen friends!
And Welcome to my first October post (or should I say Orctober??).
This one will be a long awaited promise: I'll be testing the Army Painter's Quickshade making use of the proper dipping method, suggested by the danish company.
I'll be showing you a tutorial with all the steps I've followed, and then I'll review the final product.
So, before long...
What's the Quickshade?
It's a product from the Army Painter that assumes the role of quickening the painting sessions for those of us who want, more than anything, to play the game instead of spending great amounts of time painting miniatures, and still have great looking mini warriors on the tabletop.
It is a mix of a shade and a gloss varnish, so you'll end up with a completely shaded and varnished model, with pretty good results for such an easy method.
Their suggested process is fairly simple:
- Basecoat the miniature
- Dip it in the 250ml. can and shake the model about 6/7 times (wait 24 hours)
- Matt varnish the model
- Base it
And it's done!
The Steps!
 |
| First of all, the single most important step on any painting session: the primer! As you can see, I've gone with a grey primer, also from the Army Painter (the brush on primer). |
 |
| Basecoat for the goblin skin. |
 |
| Basecoat for the hair, cloth and weapon. This is the final step before dipping the model. |
 |
| Stage 1 |
 |
| Stage 2 |
 |
| Stage 3 |
 |
| Also, I really like how the Quickshade managed to shade the ideal areas and leave the edges of the model lighter. The hands, legs and chest look really good. |
Review
This product is of formidable utility for those cases on which you really want to get the miniature done and don't feel like painting (when you don't like the sculpt or the model, and just want to get it done).
From my point of view, the Quickshade is aimed for those guys who don't really care for painting models or don't manage to extract the proper joy of it (which is absolutely legitimate). For those guys, this is the way to go! It is perfect, and the final results are most enjoyable.
You'll be able to get a large army done in less than nothing, and be ready to go to war (i.e., to play ... I'm a pacifist in the real world, huh...).
For the dipping method, I believe it is quite appropriate to use it on the models (instead of the brush on), and able to give a fair amount of control of the final result. The "brush on" method is also a pretty good way, but just be sure you use an old and already destroyed brush in order to avoid more casualties. This product is really (really!) strong, and there will be no way to restore a good brush after you dive it in it (even getting the liquid out of your fingers proved to be an hard task).
I actually plan on using the "brush on" technique in a few weeks, when I paint the scenic parts of the Goblintown starter set, and then you'll be able to also testify the great uses of the Quickshade (on wood planks, bones and skulls, etc.).
As you suspect, I did really enjoy the Quickshade. In fact, I plan on using it for the rest of my next "to paint" Goblintown orcs. Then, I'll surely post a picture of the whole warband, half dipped/half brushed. Also, since I have two starter sets, maybe i'll paint one Goblin King with the Quickshade (but that's still up to pondering).
Rate: 9
I'm giving the Quickshade a 9 because it is aimed for a specific group of hobbyists, and not the whole community.
It is an amazing product that I would recommend to anyone who's able to get it and try. You won't be disappointed!
 |
| Comparison: Quickshade/Normal |
 |
| Comparison: Quickshade/Normal |
 |
| Showcase of the Goblintown orc! |
And that's all for now friends!
Stay tuned to my blog since there will be a tutorial on
Théodred and his horse really soon!
I hope you've enjoyed this one!
Happy hobbying and wargaming to you all!
Namárië!


Nice product and excellent tutorial.
ReplyDeleteThank you :)
DeleteLooking great after all work!
ReplyDeleteThanks :)
Delete